How to Make a Coloring Page Anyone Can Create
August 6, 2025
So, you want to make your own coloring pages? Fantastic. You've stumbled into a wonderfully creative (and surprisingly relaxing) corner of the internet.
It's actually easier than you might think. There are really three main ways to go about it: you can go old-school with hand-drawing and scanning, get precise with digital drawing, or jump into the future with an AI tool like ColorPageAI to whip up amazing designs in seconds.
The best path for you really just depends on your style, the tools you have, and how fast you want to get to the fun part—coloring!
Your Starting Point for Creating Coloring Pages
Ready to turn your ideas into printable art? You're in the right place. Making your own coloring pages is more than just a fun craft; it’s a way to tap into a huge trend that’s all about mindfulness and chilling out.
And it's not a small trend, either. The demand for unique, engaging coloring pages has absolutely exploded. To give you an idea, the global adult coloring book market was valued at a whopping $151.23 million in 2024. That number is expected to shoot past $320 million by 2030.
That’s a whole lot of people looking for creative ways to de-stress. You can dig into the specifics by checking out the market growth insights.
Think of this guide as your launchpad. We'll walk through the options to help you figure out which method feels right for you.
Exploring Your Creative Options
Before you grab a pen or fire up an app, let's look at the different ways you can create a coloring page. Each approach gives you a totally different result and requires a different set of skills.
What's your end goal? Are you a parent who wants to create a one-of-a-kind page of your kid's favorite superhero-animal mashup? An artist looking to sell your beautiful illustrations? Or maybe you have a killer idea but not the time (or drawing skills) to bring it to life yourself.
Your answer will point you in the right direction.
Which Coloring Page Method Is Right for You?
Feeling a little unsure about where to begin? No problem. This quick table breaks down the three main paths to help you find your footing.
| Method | Best For | Required Tools | Skill Level |
|---|---|---|---|
| Traditional Drawing | Artists who love the authentic, hand-drawn look and feel. | Paper, pens/pencils, a scanner or good phone camera. | Basic to advanced drawing skills. |
| Digital Drawing | Creating perfectly clean, scalable, and easily editable line art. | Tablet (like an iPad), stylus, drawing software (Procreate, Illustrator). | Intermediate digital art comfort. |
| AI Generation | Instantly creating complex, unique pages from a simple text description. | A computer or phone, internet access, an AI tool like ColorPageAI. | None! Just your imagination. |
As you can see, there's a method for every skill level and creative goal. Whether you're a seasoned artist or a complete beginner, you can absolutely create something amazing.
Key Takeaway: There's no single "best" way to make a coloring page. The right method is the one that fits your skills, tools, and what you want to create—whether that's detailed hand-drawn art or instant AI magic.
Throughout this guide, we're going to dive deep into each of these techniques. I'll give you the step-by-step, the pro tips I've picked up, and plenty of real-world examples to get you started. Let's get creating
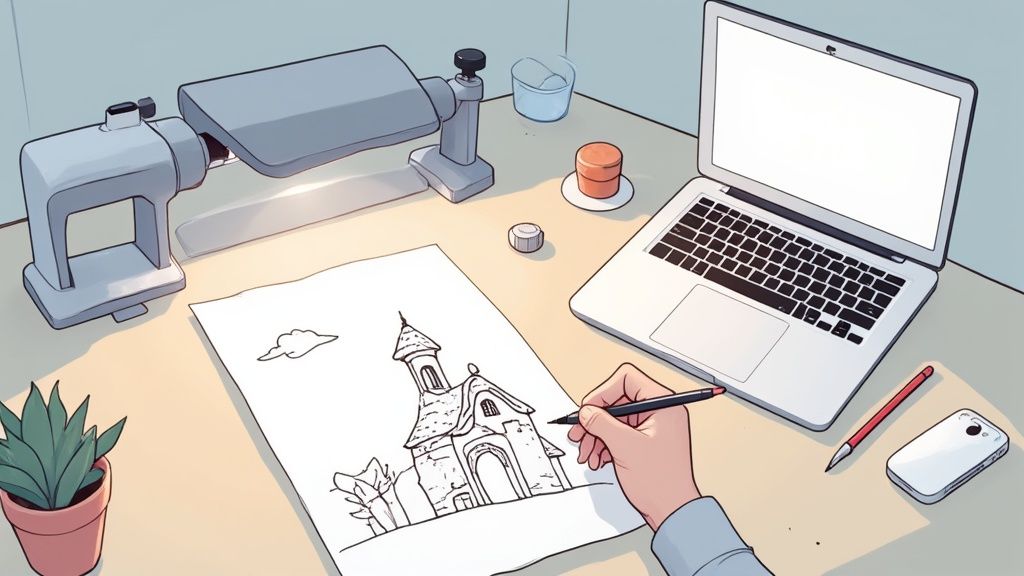
The Hands-On Approach: From Sketch to Scan
Sometimes, you just can't beat the feel of a real pen on paper. There’s a certain magic in creating something with your own hands, and if that’s your style, this traditional method is for you. It’s all about blending classic drawing techniques with a little bit of digital cleanup to create a coloring page that’s 100% yours.
First things first, let's talk materials. While you can use any paper, I'm a big fan of Bristol board. It’s incredibly smooth, which helps you get those clean, crisp lines without any pesky paper texture getting in the way. For pens, grab something that delivers a bold, dark line—think fine-tipped permanent markers or dedicated artist pens like Microns or Copic Multiliners. Trust me, this will make scanning so much easier later on.
From First Doodle to Final Ink
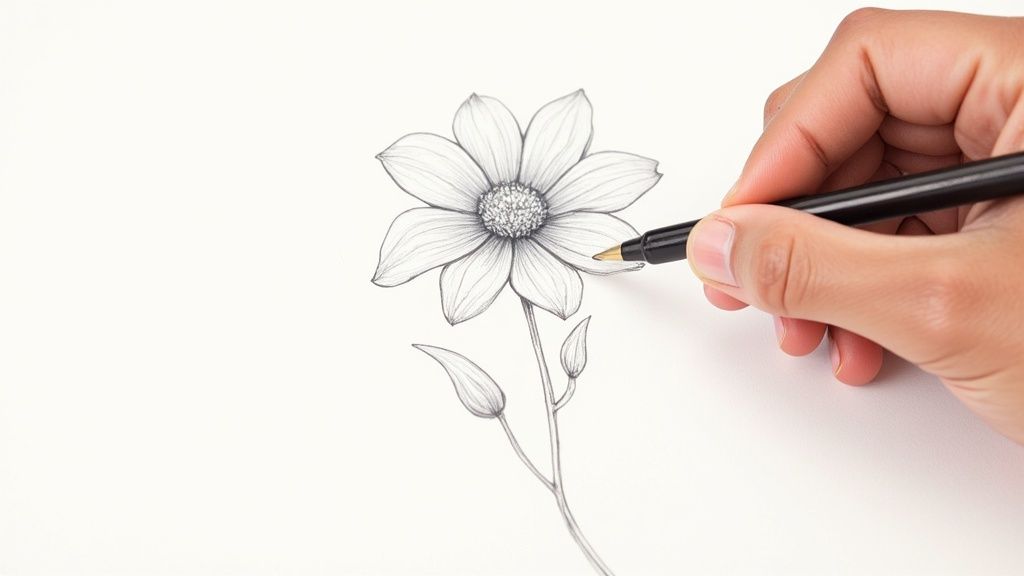
Every great coloring page starts with a simple pencil sketch. This is your playground. Don't stress about making it perfect; just use a light pencil to map out your ideas. Figure out your composition, where your main characters will go, and the overall flow of the piece. Think of it as creating the blueprint for your final design.
Once you’re happy with the rough sketch, it's time to lay down some ink. This is the moment of commitment! Carefully trace over your pencil lines with your pen, focusing on making your lines bold and your shapes closed. This is a critical tip. Open lines or fuzzy shapes can be really frustrating for the person who eventually colors your page.
This infographic breaks down the basic creative flow from a loose idea to a polished drawing.

The key is seeing how a messy concept gets refined into a clean, inked illustration that’s ready for the next step.
Getting Your Art into the Computer
With your masterpiece inked and ready, it's time to digitize it. You can use a standard flatbed scanner or even just snap a good photo with your phone. If you're using a scanner, set it to 300 DPI (dots per inch). This is the industry standard for print and ensures your lines will look sharp and professional, not blurry or pixelated.
Pro-Tip: If you're using your phone, lighting is everything. Place your drawing in bright, even, natural light to kill any shadows. And make sure to hold your phone directly over the paper—shooting from an angle will distort the final image.
After scanning, your art will probably have a few little gremlins—dust specks, leftover pencil smudges, or a background that's more gray than white. No worries. This is where free tools like GIMP or Photopea are your best friends. You don’t need to shell out for expensive software to get fantastic results.
Here’s a quick cleanup checklist:
- Levels or Curves: Use these to crank up the contrast. You want to push the background to pure white and the lines to pure black. It makes a world of difference.
- Eraser Tool: Zoom in and meticulously zap any stray marks or smudges that your scanner picked up.
Once you’ve cleaned everything up, it's time to save your work. For the best quality, export the file as a high-resolution PNG or PDF. These formats keep the lines sharp and are super easy for anyone to print. And just like that, your custom coloring page is ready to go
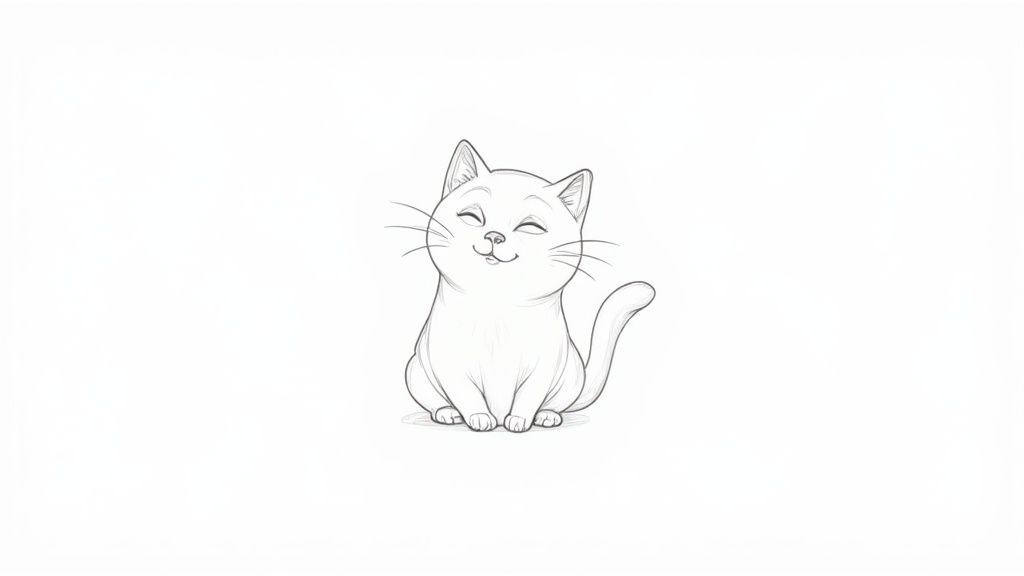
Bringing Your Ideas to Life with AI
The image above? I generated that in about 15 seconds. I just typed in a simple description, and poof—a detailed, ready-to-color page appeared. Notice the clean lines and charming details? That’s the power of AI, and it’s a total game-changer, especially if you want to create something complex, fast, without ever picking up a pencil.
What if you could dream up any scene and have a printable coloring page ready in moments? It’s not science fiction anymore.
We're going to walk through how to use a specialized tool like ColorPageAI to make incredible designs from just a few words. The real secret isn't just the AI itself, but how you talk to it. Learning to write a good "prompt" is the key to unlocking exactly what you're imagining.
Crafting the Perfect AI Prompt
The difference between a bland, generic image and a spectacular one all comes down to the details you give the AI. Vague prompts get you vague pictures. It’s that simple. To get a truly great coloring page, you have to be specific and descriptive.
Think of it like you're an art director giving very precise instructions. Instead of just saying "a house," try something much more vivid:
“A whimsical fairytale cottage with a mushroom roof, vine-covered stone walls, and a round wooden door, thick outlines for coloring, black and white, no shading.”
See the difference? That level of detail gives the AI a clear roadmap to follow, producing something far closer to what's in your head. For a much deeper dive into this, our full guide on creating coloring pages has more advanced prompting strategies you’ll find useful.
Let's break down the core parts of a powerful prompt:
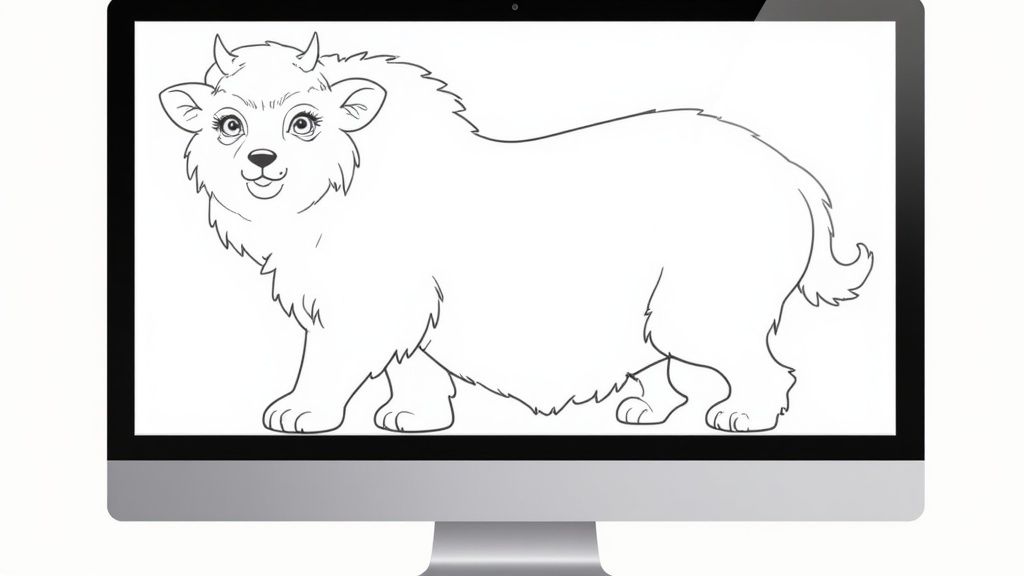
- Subject: What’s the star of the show? Be specific. Instead of "a lion," try "A majestic lion with a flowing mane."
- Style: What's the vibe? Use words like "whimsical," "cartoon style," "zentangle patterns," or "simple line art for kids."
- Key Details: Add those unique quirks. Think "wearing a top hat and monocle" or "surrounded by celestial moons and stars."
- Technical Commands: This part is crucial. Always include phrases like "coloring page," "thick outlines," and "black and white" to make sure the final image is actually colorable.
Refining and Troubleshooting Your AI Art
Let's be real: you probably won't get the perfect image on your first try. That's completely normal, so don't get discouraged! Think of that first attempt as a rough draft. It's a starting point you can build on.
If the image isn't quite right, don't just ditch the idea—tweak your prompt. Was it too cluttered? Add "simple shapes" or "for toddlers" to the next one. Were the lines too thin? Double down and emphasize "bold, thick outlines" in your prompt. It’s a fun process of iteration and experimentation.
Another incredibly useful technique is upscaling. AI images can sometimes start out a bit small. Tools like ColorPageAI have an upscaling feature built right in, which increases the image resolution. This step is essential for getting those crisp, clean lines when you print, avoiding that dreaded pixelated look. It ensures you end up with a professional-quality printable every time. The concept is pretty similar to how you’d prepare a digital image for other art projects, like when you learn how to make a paint by number from a photo, which also requires careful prep work for a great result.
Browse free coloring pages
Hundreds of ready-to-print pages, plus a generator that makes any page you can describe.
Taking Your Designs to Market
So, you've been creating a bunch of fantastic coloring pages. Now what? The next logical step is to share them with the world—and maybe even turn your creative hobby into a rewarding side hustle. Trust me, this isn't just a niche pastime anymore. The demand for unique digital downloads is exploding, thanks to a huge interest in mindfulness, stress relief, and hands-on crafts.
This isn't just a hunch. The global adult coloring book industry is on an incredible growth path, projected to reach a whopping $2.5 billion by 2033. That number tells you one thing: people are actively looking for creative outlets to support their mental well-being. There's a real, paying audience hungry for exactly what you can create.
Finding Your Sweet Spot with Popular Themes
To really make a splash, it helps to know what people are searching for. Tapping into popular themes can give your designs a serious advantage right out of the gate.
Some categories are consistently hot sellers:
- Detailed Mandalas: These intricate, symmetrical patterns are evergreen favorites. People love them for their meditative quality.
- Educational Kids' Pages: Think alphabet letters disguised as animals, fun number-learning scenes, or simple science concepts.
- Fantasy & Whimsy: Dragons, enchanted forests, and fairy-tale creatures offer an escape that tons of buyers are looking for.
- Botanical & Floral: From simple bouquets to elaborate secret gardens, you can never go wrong with nature themes.
The real secret is to find a niche you're genuinely passionate about. Your enthusiasm will shine through in your work, making your designs feel more authentic and special. If you love drawing mystical creatures, lean into that—don't force yourself to create floral patterns just because they're popular.
Selling Your Coloring Pages Online
When you're ready to start selling, platforms like Etsy are a brilliant place to begin. It’s a massive marketplace where millions of people are already shopping for digital downloads just like yours. Setting up a shop is pretty simple, and having a built-in audience is a huge plus.
Once you have a few individual pages listed, think about bundling them. A themed "coloring book" of 5-10 pages can be an amazing value for buyers and a great way to increase your average order value. For a deeper dive, check out our detailed guide on how to make a coloring book from your pages.
Presentation is absolutely everything. Create some attractive mockup images that show what your page looks like printed out, or maybe even partially colored. This helps potential customers picture themselves enjoying your product. And don't sleep on social media for promotion! Learning some effective strategies for selling your designs on Pinterest can dramatically expand your reach and drive traffic straight to your shop.
Design Tips for Pages People Love to Color
Sure, you can generate a coloring page. But creating one that people genuinely love to color? That's a whole different ballgame. It's an art form, really. A few simple design choices can be the difference between a basic outline and a truly immersive, delightful experience. I've learned a few insider tips over the years that make all the difference.
One of the most powerful techniques in my toolkit is line weight variation. It sounds technical, but it just means mixing thick and thin lines. Trust me, it’s a game-changer for creating depth and directing the colorist's eye.
Try using thicker lines for the main outline of a character or object, then switch to thinner lines for the finer details inside, like the pattern on a dress or the petals on a flower. This simple trick makes the whole subject pop right off the page.
Find the Perfect Balance
You know those coloring pages that are so crammed with tiny, intricate details they just look stressful? Finding that sweet spot between complex sections and wide-open spaces is absolutely critical. A fantastic design offers little nooks for detailed, focused coloring right alongside larger shapes where someone can just relax and blend colors.
This balance is key to preventing the page from feeling overwhelming. It creates a natural rhythm, making the coloring process feel more like a creative journey and less like a chore. The goal is to spark creativity, not trigger anxiety with a wall of microscopic spaces to fill.
Key Insight: A successful coloring page is a conversation. You, the artist, provide a beautiful structure with clear forms and varied spaces. The colorist then brings it to life with their own imagination.
Common Mistakes to Sidestep
Learning what not to do is just as important as learning what to do. I’ve seen a few common pitfalls that can really frustrate people trying to enjoy your pages. Here are a couple to avoid:
- Lines Are Too Thin: Those super-delicate lines might look elegant on your screen, but they often print poorly or disappear completely on a standard home printer. Always make your lines bold enough to be seen clearly.
- Cluttered Layouts: Don't try to cram every single idea onto one page. White space is your friend! Give your subjects room to breathe. A less cluttered composition is almost always more elegant and more fun to color.
The adult coloring book scene is huge, and thoughtful design is what will make your pages stand out. The market was valued at around $1.5 billion in 2025 and is on track to hit $2 billion by 2033, all thanks to the growing demand for high-quality, stress-reducing activities.
If you want to dive deeper into layout and composition, you might find our expert tips on how to design a coloring page really helpful.
Common Questions About Making Coloring Pages
As you dive into making your own coloring pages, a few questions are bound to pop up. It happens to everyone! I’ve pulled together some of the most common ones I hear to give you quick, clear answers and help you sidestep any creative roadblocks.
What Is the Best File Format for Printables?
When you’re ready to share or print your masterpiece, the file format you choose is a bigger deal than you might think. For the absolute best, most reliable results, you’ll want to stick with PDF, high-resolution JPEG, or PNG.
I almost always recommend a PDF as the gold standard for digital downloads. Why? Because it locks in all your formatting and quality, meaning the page looks exactly how you designed it, no matter what device or printer someone uses. It guarantees those crisp, clean lines you worked so hard on.
A high-resolution JPEG or PNG (make sure it's set to 300 DPI) is also a solid choice, but PDFs just give you that extra layer of professional peace of mind.
Can I Sell My AI-Generated Art?
This is a fantastic question, and the answer is a pretty confident "yes," but it comes with a crucial "check the fine print" warning. Your ability to sell art you've generated with an AI tool comes down entirely to that platform's terms of service.
A lot of modern platforms, including ColorPageAI, explicitly grant you full commercial rights for the images you create. This means you're free to sell your designs on Etsy, use them in books, or include them in any commercial project you can dream up.
But this isn't a universal rule. Before you get excited and start listing your creations for sale, always take a minute to read the specific platform's rules on commercial use. It’s a small step that saves you from major headaches down the road.
What Is the Best Paper Size to Use?
For the sake of your customers, you absolutely want to design your pages for standard home printer sizes. This means using US Letter (8.5 x 11 inches) if you're targeting an American audience or A4 for international folks.
Sticking to these sizes is a small detail that makes a huge difference. It removes a major frustration for your audience, letting them print your pages at home without needing special paper or wrestling with confusing printer settings. It’s all about making your art as accessible and user-friendly as possible.
How Can I Clean Up My Hand-Drawn Lines?
So you've scanned your drawing, but it looks a little... messy. Maybe there are faint pencil smudges, or the background is more of a dingy gray than a clean white. Don't worry, this is a rite of passage, and it's an easy fix with free software.
Once your drawing is scanned, open the image file in a free editor like GIMP or Photopea. Your new best friends will be the 'Levels' or 'Curves' tools. Playing with these allows you to dramatically crank up the contrast. This simple adjustment will push your black lines to be much darker and force the background to become a brilliant, pure white.
After that, just grab the eraser tool and zoom in to zap any stray marks or blemishes. This digital cleanup process is the secret sauce that takes a scanned drawing from "homemade" to polished and professional.
Ready to skip the learning curve and jump straight to the fun part? With ColorPageAI, you can generate endless, unique coloring pages from simple text prompts in seconds. Get your first five pages free and bring your wildest ideas to life today. Start creating at https://colorpage.ai.
Browse free coloring pages
Hundreds of ready-to-print pages, plus a generator that makes any page you can describe.