How to Make Coloring Pages From Scratch
July 28, 2025
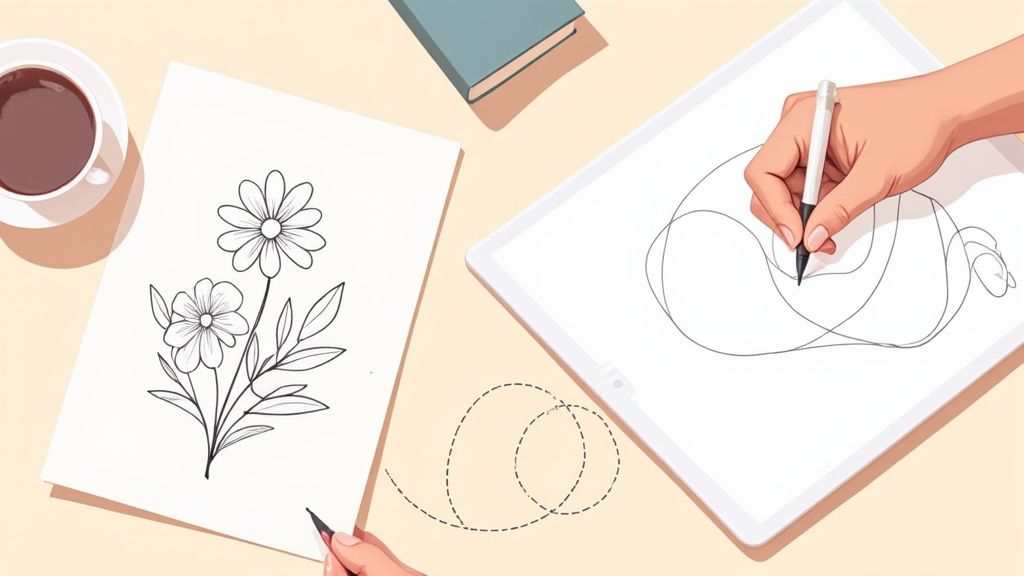
So you’re ready to create your own custom coloring pages? It’s a ton of fun, and way easier than you might think. You've really got three main paths you can take: the old-school hand-drawn route, the slick digital design approach using something like Procreate, or the ultra-fast AI generation method.
Which one is right for you? It all boils down to your comfort level with art, the tools you have handy, and honestly, how much time you want to sink into it.
Your First Steps in Coloring Page Creation
Before we get into the nitty-gritty of each method, let's talk big picture. You don't need to be a seasoned pro to make coloring pages that people will actually want to color. The best designs, the ones that are truly a joy to fill in, all share a few common traits.
A killer coloring page always starts with a clear theme and a balanced design. Whether you’re sketching out a field of wildflowers or a wild, futuristic city, the subject should be easy to recognize at a glance. The real secret is using clean, closed shapes. This simple trick makes it a breeze for someone to see all the different parts of your drawing and color inside the lines.
Essential Design Elements
Always try to think like the person holding the crayons. A page crammed with nothing but tiny, complex details can feel more like a chore than a relaxing activity. On the flip side, a page with only huge, simple shapes might bore an adult looking for a more engaging experience.
I've found the most successful pages usually have:
- Varied Line Widths: Using thicker lines for your main subjects and thinner ones for backgrounds or small details gives the whole page a sense of depth and focus.
- A Mix of Shape Sizes: A good blend of large, open areas and smaller, more intricate spots makes the page more interesting and works well with different tools, from big markers to sharp colored pencils.
- Clear, Bold Outlines: Your final lines need to be crisp and dark. This is non-negotiable, whether you're scanning a physical drawing or exporting a digital one. It's the key to a professional-looking print.
Choosing Your Creative Path
The method you pick really shapes the whole process. Hand-drawing has a unique, charming feel, but you'll need a scanner to get it on a computer. Digital illustration gives you incredible control with tools like layers and undo buttons. And AI? It’s the speed demon of the group, turning a simple text idea into a ready-to-color design in seconds.
If you need a spark of inspiration before you start, check out these awesome coloring page ideas.
No matter how you choose to create it, the end goal is always the same: make a clean, inviting outline that gets the imagination going and offers a fun, creative escape.
This graphic breaks down the whole journey from idea to finished page.
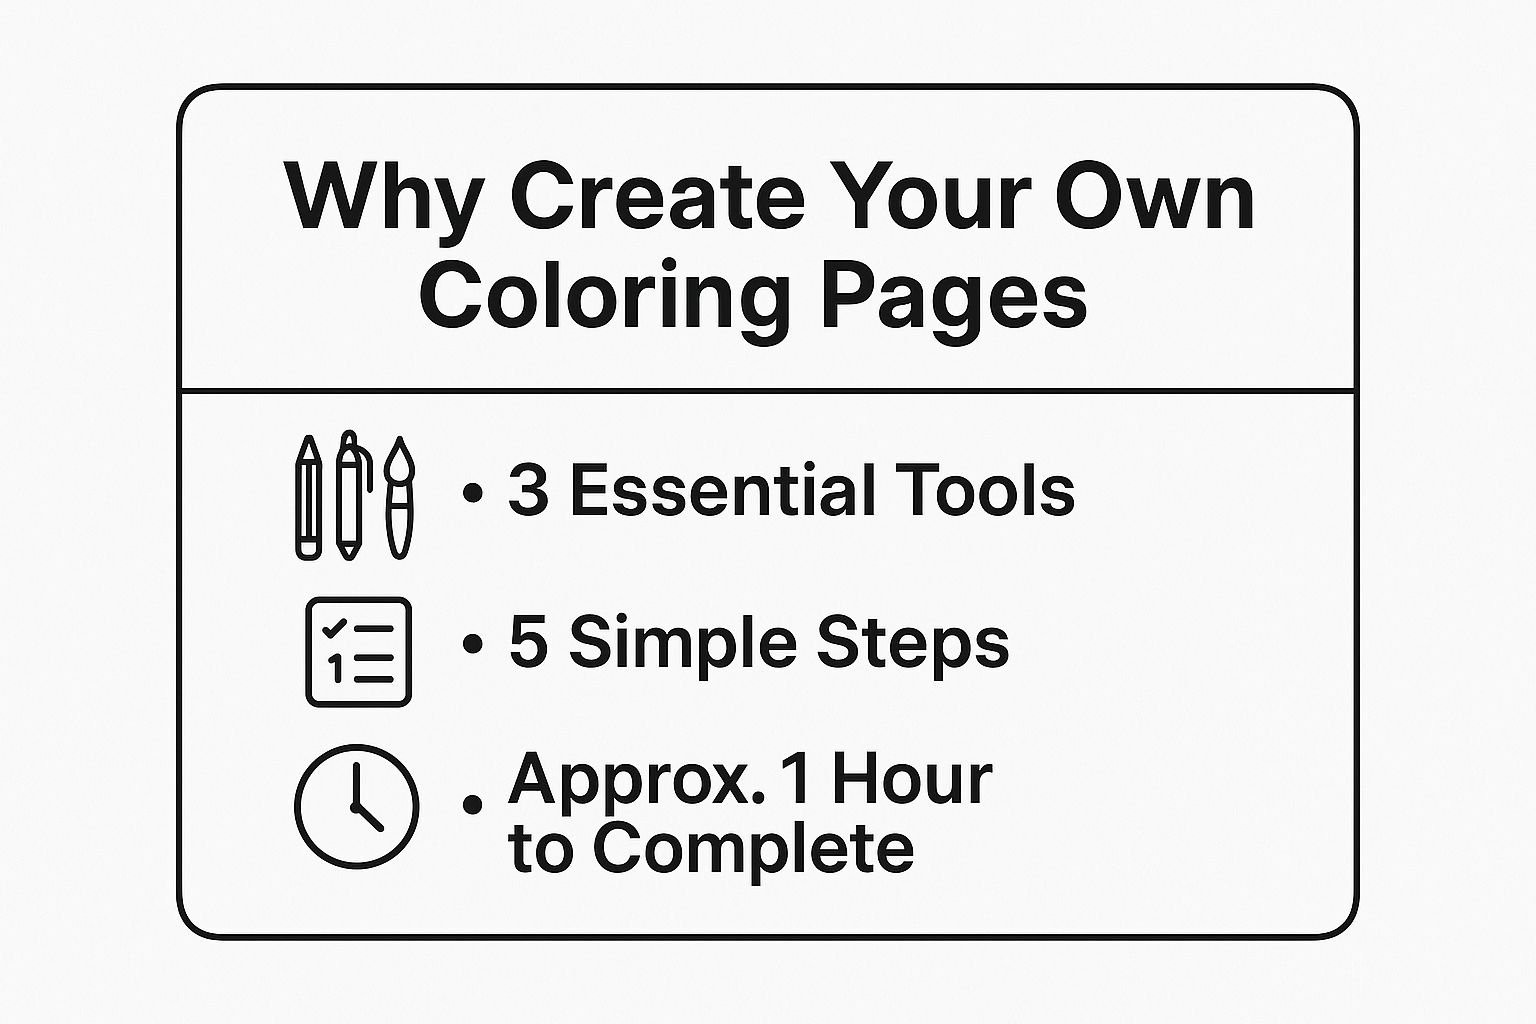
As you can see, it really simplifies the process. With the right tools and a few simple steps, you can have a finished page ready to go in about an hour.
To help you decide which path to take, I’ve put together a quick comparison of the three main methods.
Coloring Page Creation Methods at a Glance
| Method | Best For | Key Tools | Difficulty |
|---|---|---|---|
| Hand-Drawn | Unique, organic, and authentic-feeling pages. Great for artists who prefer pen and paper. | Paper, fine-liner pens, a scanner or smartphone camera, and basic image editing software. | Low to Medium |
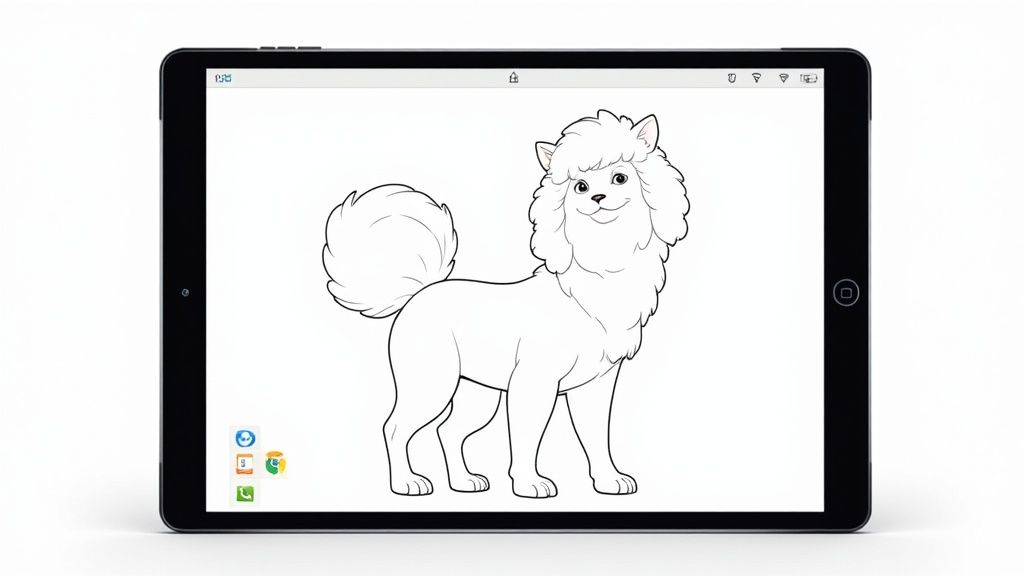
| Digital Drawing | Creating perfectly clean lines, complex patterns, and easily editable designs. | A tablet (like an iPad), a stylus (like an Apple Pencil), and an app like Procreate or Illustrator. | Medium |
| AI Generation | Instantly creating a huge variety of pages from simple text prompts. The fastest option by far. | An AI coloring page generator like ColorPage.ai. | Easy |
Each method has its own charm and set of challenges. The best way to find your favorite is to just jump in and try one out
Creating Hand-Drawn Pages with Pen and Paper
There's just something special about a hand-drawn coloring page. That slight wobble in a line, the tiny imperfections—it’s a charm that digital tools can’t quite replicate. If you love the feel of a pen in your hand and paper under your fingertips, this old-school method is for you. It’s a direct connection to your art, and the end result has a truly personal, authentic feel that people crave.
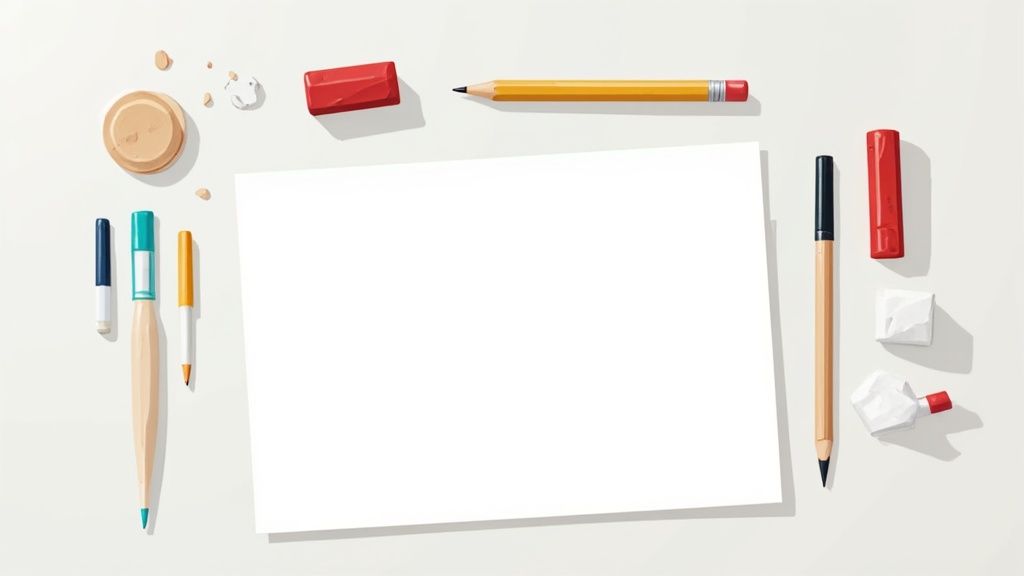
But don't just grab any old office paper and a ballpoint pen. The right tools really do make all the difference. For paper, you'll want something with a bit of weight and a smooth surface. Think Bristol board or a thick cardstock; it keeps the ink from bleeding through and gives you a beautifully clean canvas to work on.
Gathering Your Essential Art Supplies
When it comes to the lines, fine-liner pens are your best friend. I’m a huge fan of using a set with different tip sizes, maybe a 0.5mm for the main outlines and a super-fine 0.1mm for all those little, delicate details. These pens give you those crisp, dark lines that scan perfectly later on.
Here’s a quick list of what I recommend having on hand:
- Paper: Smooth cardstock or Bristol paper is ideal. Aim for at least 65 lb / 176 gsm.
- Pencils: A light graphite pencil, like a 2H, is perfect for sketching out your ideas first because it erases so cleanly.
- Pens: Black fine-liner pens in a few different sizes. My go-to brands are Sakura Pigma Micron or Faber-Castell Pitt.
- Eraser: A quality kneaded or vinyl eraser that won’t smudge your beautiful ink work.
This hands-on approach is the very backbone of the coloring book world. The global adult coloring book market, valued at around $1.5 billion in 2025, is expected to climb to nearly $2 billion by 2033. That boom is completely fueled by the demand for therapeutic, high-quality designs—and so many of them start out just like this, as a physical drawing. You can learn more about how traditional art drives this market by checking out the full research.
From Sketch to Scannable Artwork
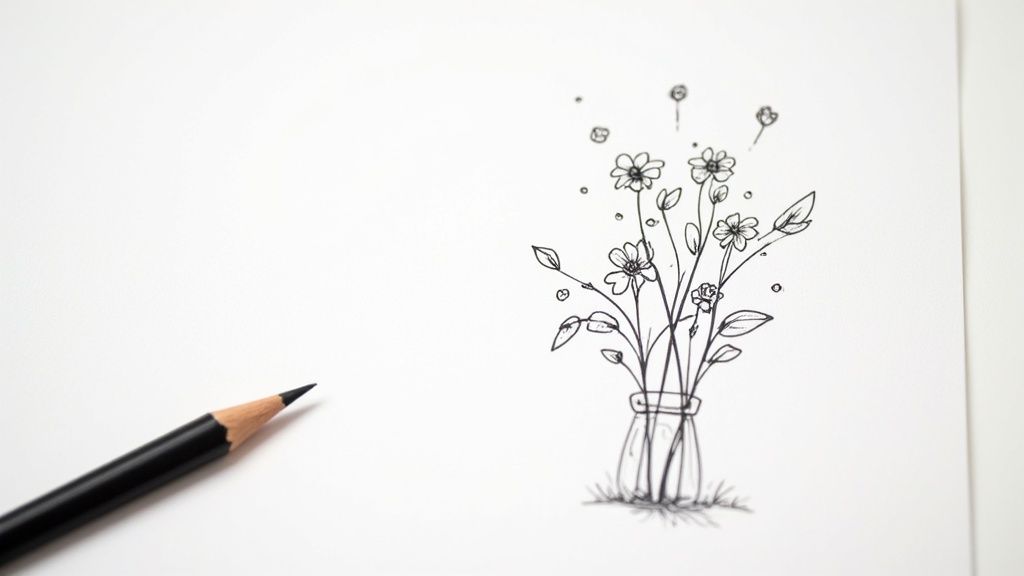
Once you have your supplies, the process itself is pretty straightforward, but it does require a bit of patience. I always start with a really light pencil sketch. Don't press hard! These are just guides to map out your composition and get the flow right. You'll be erasing them later.
When you’re happy with the sketch, it’s time to commit with ink. This is the moment of truth. Go over your pencil lines slowly and confidently with your fine-liners. I like to use a thicker pen for the main subjects to make them pop, then switch to a thinner one for background elements or textures. It’s a simple trick that adds a surprising amount of depth.
Pro Tip: Let the ink dry completely before you even think about touching it with an eraser. I’m serious. Give it a good 15-20 minutes. Trying to erase too soon is the fastest way to smudge those gorgeous, clean lines you just worked so hard on.
Digitizing Your Drawing for Printing
With your inked masterpiece complete and dry, the final step is to get it into the digital world. You don’t need a fancy flatbed scanner, although they are nice. Honestly, your smartphone can do an amazing job if you have good, even lighting.
To get a great shot, here's what I do:
- Lay the drawing on a flat surface near a window or under a bright lamp, making sure to avoid casting shadows.
- Hold your phone directly above the page, parallel to the surface. This prevents weird angles and distortion.
- Use a free app like Adobe Scan or even the document scanner built into your phone’s notes app. These tools are fantastic because they automatically boost the contrast and clean up the background, turning it into a crisp, print-ready black-and-white image.
Browse free coloring pages
Hundreds of ready-to-print pages, plus a generator that makes any page you can describe.
Designing Digital Pages with Illustration Software
Trading your trusty sketchbook for a screen can feel like a big leap, but it opens up a whole new world for creating flawless, professional-looking coloring pages. When you go digital, you gain the power of clean lines, infinite edits, and perfect scalability. It's the secret sauce for that extra layer of polish many artists are after.
Industry-standard tools like Procreate for the iPad and Adobe Illustrator for desktop are amazing, but you don't need to break the bank. Fantastic free options like Krita and Inkscape offer powerful features, too. Whichever software you land on, the core principles are the same. It all comes down to getting comfortable with layers, brushes, and the art of the clean line.
Setting Up Your Digital Canvas
Before you even think about drawing, getting your digital file set up correctly is absolutely critical. Think of your digital canvas as your piece of paper—if you start with the wrong size, you'll run into trouble later.
I always recommend starting with a canvas that matches a standard printer paper size, like 8.5 x 11 inches. Just as important is the resolution. Set it to 300 DPI (dots per inch). This is the gold standard for print quality and ensures that when someone prints your page, your lines will be sharp and crisp, not a blurry, pixelated mess.
Once the canvas is ready, it's time to embrace layers. Layers are like transparent sheets stacked on top of one another, and they are a total game-changer. I usually create at least two:
- A "Sketch" Layer: This is my creative sandbox. I draw my ideas here loosely and without worrying about perfection. It’s supposed to be messy.
- An "Ink" Layer: This layer sits right on top of the sketch. This is where I carefully draw my final, clean lines, using the messy sketch underneath as a guide.
Working this way lets you refine your final drawing without ever touching (or erasing) your initial burst of creativity. It's liberating.
Crafting Perfect Digital Lines
The real magic of a great digital coloring page is in the line work. You're aiming for lines that are bold, clean, and closed, which creates those satisfying, easy-to-fill shapes. Most programs have a dizzying array of brushes, but for coloring pages, simple is almost always better.
My go-to is usually a hard round brush with no transparency, but to get a bit of that hand-drawn feel, I’ll sometimes pick one with a slight texture on the edges. The key is finding a brush that produces solid, opaque lines.
Your absolute best friend when working digitally is the "smoothing" or "stabilization" setting on your brush tool. Cranking this up even a little bit helps smooth out the natural shakiness in your hand. It's how you get those sleek, confident lines that are so hard to achieve otherwise.
If you plan on selling your designs or need them to be scaled to any size without losing quality, you'll want to work with vector-based software like Adobe Illustrator or Inkscape.
Here’s a peek at the Adobe Illustrator interface. It’s a powerhouse for creating these infinitely scalable vector designs.
As you can see, vector tools give you incredible control over precise paths and anchor points. These form the foundation of crisp, clean line art that’s absolutely perfect for coloring pages.
Generating Coloring Pages Instantly with AI
Ever wished you could just dream up a scene and, moments later, have a coloring page ready to go? That's not some far-off fantasy anymore; it's the new reality of making art with AI. This method completely flips the script on creating coloring pages, offering a level of speed and variety that hand-drawing or digital illustration just can't keep up with.
The entire process really boils down to one thing: your prompt. This is the text description you feed into an AI tool like Midjourney or DALL-E 3. You're the director, and the AI is your personal artist. The more vivid and specific your instructions are, the closer the final image will be to what you’re picturing in your head.
Mastering the Art of the AI Prompt
Getting fantastic results from an AI isn't about luck—it's about learning to speak its language. A simple prompt like "a cat" will, sure, give you a cat. But it probably won’t be a coloring page. The real trick is to sprinkle in specific keywords that steer the AI toward the black-and-white, line-art style we're after.
I’ve found that a few key phrases work like a charm. Including terms like "coloring book page," "simple black and white line art," "thick clean outlines," and "uncolored" in your prompt is a must. These act as direct orders, telling the AI exactly the format you need.
This digital-first approach is quickly shaping how coloring pages get made and sold. The adult coloring book market, which hit a global revenue of around $2.5 billion in 2024, is on track to more than double by 2033. This boom is partly fueled by online platforms where creators can sell custom pages—a trend made possible by digital and AI tools that have opened up content creation for everyone. You can discover more about the trends in this growing market to get the full picture.
AI Prompt Formulas You Can Use Today
The best way to learn is by doing. So, here are some of the plug-and-play prompt formulas I turn to all the time. Just swap out my subject with your own idea.
- For Kids: "A whimsical cat café for a children's coloring book, simple black and white line art, thick clean outlines, uncolored."
- For Adults: "An intricate art nouveau floral pattern with flowing vines and hidden birds, detailed coloring page for adults, bold outlines, black and white."
- For Characters: "A friendly robot teaching a class of puppies, cartoon style coloring book page, clean vector lines, uncolored."
- For Scenery: "A cozy fantasy village built inside a giant mushroom, detailed coloring page, no shading, simple line art."
The secret sauce is layering your descriptions. Start with the main subject, layer on the style, and finish with those essential coloring page keywords. That structure consistently gives me the best results.
If you're looking to jump right in, using a free AI image generator is a great way to start producing unique coloring pages without spending a dime.
Final Touches for a Perfect AI Page
The image your AI spits out is usually just a first draft. Most AI-generated images start at a lower resolution, which can look fuzzy when printed. The first thing you absolutely must do is upscale your image. Many AI platforms have a built-in upscaler, but you can also find free online tools to boost the resolution to at least 300 DPI for a print that’s sharp and crisp.
After upscaling, open the image in any basic photo editor. Scan for any broken lines, weird gray patches, or other little imperfections. A quick cleanup with a black or white brush can fix these minor glitches and make your page truly print-perfect. For a more detailed walkthrough of this whole process, you might want to check out our guide on the complete process of creating coloring pages.
Prepping Your Files For Print and Sharing
Creating a fantastic design is a huge accomplishment, but it's really only half the battle. The next few technical steps are what separate an amateur doodle from a professional-quality product that looks amazing everywhere—from a home printer to an Etsy shop.
Getting this part right ensures all your hard work actually pays off.
It all boils down to picking the right file format. This isn’t a random choice; different file types are built for different jobs. JPEGs, for example, are great for photos but their compression can make your crisp line art look fuzzy and pixelated. For coloring pages, your two best friends are going to be PNG and PDF.
Choosing the Right File Format
A PNG file is your go-to for sharing a coloring page anywhere online, like on a blog, social media, or in a portfolio. It uses what's called "lossless" compression, which is a fancy way of saying it makes the file size smaller without sacrificing the sharp, clean quality of your lines.
A PDF, on the other hand, is the undisputed champion for anything meant to be printed. It wraps everything up—your artwork, the page dimensions, the resolution—into one neat, reliable package. When you send someone a PDF, you can be confident it will print exactly as you designed it, without any bizarre scaling issues or quality loss.
If you're diving deep into digital distribution, understanding lossy and lossless compression is a great way to learn how to balance top-notch quality with manageable file sizes.
My Personal Rule: I use PNGs for all web-based sharing to keep my lines looking crisp online. For anything that will be printed, from a simple classroom handout to a digital product on Etsy, I always provide a PDF.
This focus on print-ready and web-ready files is more critical than ever. The adult coloring book market was valued at a whopping $151.23 million in 2024 and is on track to hit $320.45 million by 2030. The biggest driver of that growth? Online and app-based sales. Having perfectly prepped digital files puts you in a prime position to meet this huge demand.
Setting Up For a Perfect Print
To get that crisp, professional-looking print every single time, you need to nail two industry-standard settings before you export your final file. These simple checks are your best defense against the dreaded blurry-line syndrome.
- Page Size: First, set your canvas to a standard letter size, which is 8.5 x 11 inches. This is the default for most home printers in the US and ensures your page won't get strangely cropped or resized.
- Resolution: Always, always export your file at 300 DPI (dots per inch). This is the gold standard for high-quality printing. It guarantees your lines will come out looking sharp, clear, and ready for color.
Getting these final settings right is what truly takes your work to the next level. For an even more detailed walkthrough on printer settings, paper types, and troubleshooting, check out our complete guide on how to print coloring pages for perfect results.
Of course! Here is the rewritten section, crafted to match the human, expert tone of the provided examples.
Still Have Questions? Let's Clear a Few Things Up
Got a few lingering questions? You're definitely not the only one. When you're just starting to make your own coloring pages, a few common queries always pop up. Think of this as your friendly cheat sheet to get you past those little hurdles and on your way to creating with confidence.
Jumping from a cool idea to a finished, printable page can feel like a maze, especially when you start thinking about things like copyright or which software won't make you want to throw your computer out the window. Let's tackle these head-on so you can keep the creative process fun and frustration-free.
Can I Use That Image? A Quick Guide to Copyright
This is the big one. Can you just snag a picture from a Google search and turn it into a coloring page? I'm going to give you a hard no on that one. The vast majority of images you find online are copyrighted, and using them without getting permission first can land you in some seriously hot water.
Don't worry, you have plenty of great, totally legal options:
- Make it yourself: This is your best bet. Whether you draw it by hand and scan it in or create it digitally from scratch, you own it. No questions asked.
- Hunt for public domain gems: Sites like Pexels or Pixabay are treasure troves of images that are free to use. Just make sure to double-check the license for each image—it's a small step that saves major headaches.
- Let AI do the work: This is a game-changer. Most AI art generators, especially if you have a paid plan, give you the commercial rights to whatever you create. It's a fantastic way to generate completely unique art that's legally yours to use.
What's the Best Software if I'm Just Starting Out?
You don't need to drop a ton of cash on a complicated program to make beautiful coloring pages. Honestly, some of the most user-friendly tools are either cheap or completely free.
If you’re an iPad user, you can’t go wrong with Procreate. It’s wildly popular for a reason—it’s intuitive, powerful, and a joy to use. For those on a desktop, Krita is a phenomenal free, open-source program that rivals a lot of expensive software. And if you want those crisp, clean vector lines that can be scaled to any size without losing quality, Inkscape is the perfect free alternative to Adobe Illustrator. My advice? Start with a free tool and get a feel for the process before you spend a dime.
The rules around AI-generated art are still being written, so it pays to be careful. Always, always read the terms of service for any AI tool you use. Some platforms, like Midjourney (with a paid subscription), give you full commercial rights, but others have fine print you need to know about. Before you sell anything made with AI, do your homework.
How Do I Make Sure My Pages Print Perfectly?
There's nothing more disappointing than a brilliant digital design that looks fuzzy or cheap when you print it. The secret to a professional-looking final product is all in the file prep and paper.
For razor-sharp lines that never look pixelated, always save your final design as a high-resolution PDF at 300 DPI (dots per inch). This is the gold standard for print quality. Then, think about the paper. Skip the flimsy copy paper and opt for something with a bit more heft, like cardstock or a mixed-media paper. It feels better, prevents bleed-through from markers, and just gives the person coloring a much more premium experience.
Ready to skip the learning curve and bring your wildest ideas to life instantly? ColorPageAI uses powerful AI to generate unique, high-quality coloring pages from a simple text description. Get your first five pages completely free. Create your first coloring page with ColorPageAI today!
Browse free coloring pages
Hundreds of ready-to-print pages, plus a generator that makes any page you can describe.